
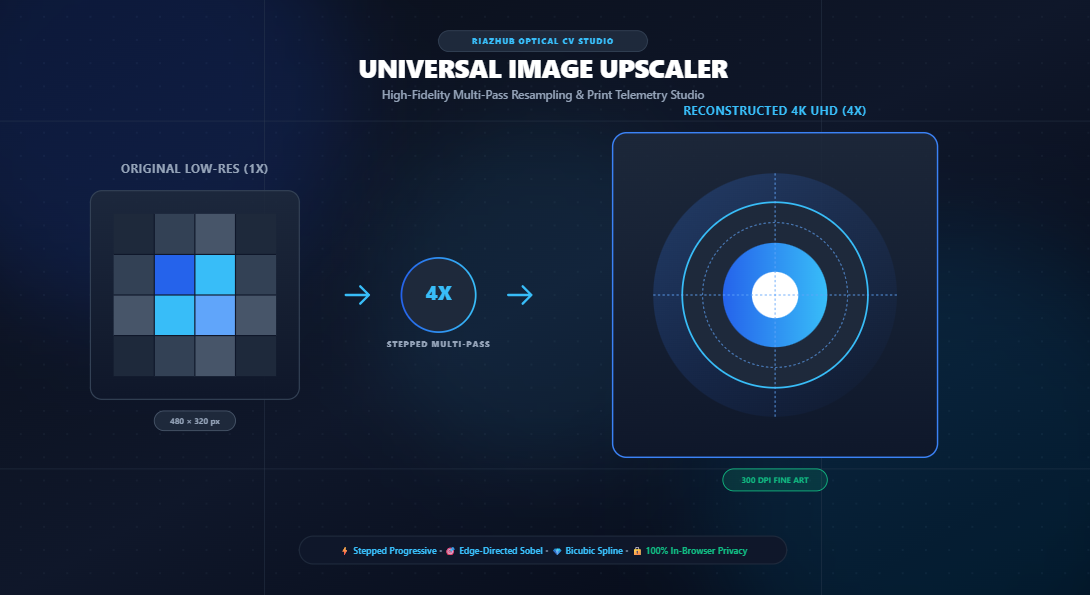
Mastering High-Fidelity Image Upscaling: The Mathematical Science of Multi-Pass Resampling & 300 DPI Print Preparation
Enlarging digital photographs and raster graphics has traditionally presented a frustrating dilemma: either endure muddy pixel smearing or submit private files to subscription-based cloud services. Explore how modern client-side spatial algorithms reconstruct razor-sharp contours and calculate gallery-grade print dimensions in real time.
Want to test these algorithms immediately on your own images? Launch the free, in-browser
RiazHub Universal Image Upscaler & High-Fidelity Dimension Studio.
Enjoy instant 2x, 3x, and 4x upscaling, real-time 300 DPI print telemetry, and split-screen loupe inspection with zero server uploads.
1. The Fundamental Physics of Pixel Interpolation: Why Naive Stretching Fails
Every raster image whether a smartphone JPEG, high-res RAW photograph, or WebP graphic consists of a discrete two-dimensional discrete coordinate grid of pixels:
When you attempt to double or quadruple the resolution of an image ($1920\times 1080 \rightarrow 7680\times 4320$), your software must invent $15$ brand-new pixels for every single source pixel in the original matrix. Naive operating system viewers and standard graphics tools rely on Bilinear or Bicubic single-pass interpolation.
In a single-pass enlargement, the algorithm calculates a weighted mathematical average across the four or sixteen nearest neighbors. While this eliminates harsh pixel squares, it produces three destructive visual defects:
- High-Frequency Energy Flattening: High-contrast luminance transitions (eyelashes, text boundaries, hair strands, fabric textures) are blurred because intermediate values smear across the transition zone.
- Stair-Stepping & Diagonal Jaggies: Curved contours break into jagged staircase patterns along sharp angle sweeps.
- Compression Noise Amplification: Latent JPEG discrete cosine transform (DCT) block noise is magnified, creating muddy blotches in skies and smooth backgrounds.
To solve this, modern computer vision uses stepped progressive resampling combined with directional luminance gradient convolution. You can experience the difference immediately using the interactive split-screen slider in the online Image Upscaler Studio.
2. Deconstructing the 4 Spatial Resampling Engines
Different visual subjects—such as architectural photography, corporate logos, macro portraits, and retro sprite art—require mathematically distinct interpolation topologies. The Universal Image Upscaler implements four specialized resampling engines directly in vanilla JavaScript:
| Resampling Engine | Mathematical Topology | Optimal Use Case | Artifact Vulnerability |
|---|---|---|---|
| Stepped Progressive | Iterative $\sqrt{2}\times \approx 1.414\times$ multi-layer passes with unsharp anti-aliasing convolution | Portraits, landscapes, product photography, general imagery | None (Gradual geometric expansion prevents ringing) |
| Edge-Directed Sobel | 2D spatial gradient analysis ($|\Delta I_x|, |\Delta I_y|$) with contour-parallel acutance sharpening | Line art, typography, architectural scans, contrast graphics | Potential noise boost if deblocking threshold is set to zero |
| Bicubic Hermite Spline | Third-order continuous polynomial spline curves across a 16-pixel neighborhood | Skin tones, gradients, cloudscapes, soft studio portraiture | Slight softness requiring subtle acutance tuning |
| Nearest-Neighbor | Zero-interpolation integer point mapping ($I_{\text{target}}(x, y) = I_{\text{src}}(\lfloor x/s \rfloor, \lfloor y/s \rfloor)$) | Retro pixel art, arcade game sprites, icon mockups | Extreme blockiness if applied to continuous-tone photos |
A. Stepped Progressive Resampling: The Geometric Multiplier
Instead of stretching a $500\text{ px}$ image directly to $2000\text{ px}$ ($4\times$), the stepped progressive pipeline executes multiple geometric expansion steps:
Step 2: 707 px → 1000 px (×1.414) + Acutance Convolution Pass
Step 3: 1000 px → 1414 px (×1.414) + Acutance Convolution Pass
Step 4: 1414 px → 2000 px (×1.414) + Final Halo-Clamped Acutance Pass
By breaking the enlargement into fractional layers, each intermediate canvas buffer reconstructs subtle tonal mid-points before the next layer executes. This preserves structural coherence and edge energy without introducing unnatural jagged edges.
B. Edge-Adaptive Sobel Convolution
Edge-directed sharpening computes horizontal and vertical luminance gradients across 2D pixel kernels:
Magnitude: |G| = √(Gx2 + Gy2)
When the spatial magnitude $|G|$ exceeds the user’s JPEG deblock threshold, the algorithm recognizes an intentional physical edge (such as an eye pupil or letter stroke) and channels sharpening specifically along the edge normal. In flat sky or uniform skin areas where $|G|$ is near zero, acutance sharpening is suppressed to prevent noise amplification.
3. The Optical Science of 300 DPI Fine-Art Printing
Digital designers frequently confuse on-screen pixel dimensions with physical print output. A $1920\times 1080\text{ px}$ image might look stunning on a laptop screen, but when sent to a high-end commercial pigment printer, it will yield a blurry, disappointing physical poster.
The physical size of any printed image is governed by the Dots Per Inch (DPI) formula:
Height (Inches) = Target Pixel Height / DPI
Centimeters = Inches × 2.54
Why 300 DPI is the Universal Fine-Art Standard
Human visual acuity at standard arm’s-length reading distance ($12\text{ to }16\text{ inches}$) resolves approximately $1\text{ arcminute}$ of angle, which corresponds to roughly $300\text{ distinct dots per inch}$. Any raster image printed below $150\text{ DPI}$ shows visible pixelation and jagged transitions to the naked eye.
Here is how resolution scaling directly unlocks real-world physical print sizes:
- Low-Res Original ($960\times 540\text{ px}$): At 300 DPI, prints at a tiny $3.2″ \times 1.8″$ (postage stamp size).
- 2x Upscaled ($1920\times 1080\text{ px}$): At 300 DPI, prints at $6.4″ \times 3.6″$ (standard snapshot).
- 4x UHD Upscaled ($3840\times 2160\text{ px}$): At 300 DPI, prints at a gallery-grade $12.8″ \times 7.2″$ archival print, or up to $25.6″ \times 14.4″$ at commercial 150 DPI brochure standards.
You can inspect real-time physical print measurements in inches and centimeters for any uploaded photo using the built-in Print DPI Telemetry HUD inside the RiazHub Image Upscaler Studio.
4. Perceptual Clarity Tuning: Eliminating White Glow Rims (Halos)
A common giveaway of cheap sharpening filters is haloing bright white, artificial rims that appear around dark subjects against light backgrounds (e.g., telephone poles against clouds or dark silhouettes).
The high-fidelity upscaler incorporates dynamic Halo Suppression. It calculates the high-pass luminance delta between the raw and blurred layers, and clamps the delta ($\Delta L$) to strict local luminance bounds:
ΔLclamped = max(-Threshold, min(Threshold, ΔL × Acutance))
This allows you to dial edge sharpness up to $75\%$ or higher while preventing glowing edge artifacts.
Ready to Upscale Your Photos?
Process single images or batch process up to 50+ files at once with zero sign-ups, zero watermarks, and 100% in-browser security.
5. Step-by-Step Guide: How to Achieve Optimal Upscaling Results
- Load Your Asset: Navigate to the Image Upscaler Tool and drag and drop your photo, press Ctrl+V to paste directly from your clipboard, or click Sample Photo to explore the pre-loaded optical test chart.
- Select Your Scale Multiplier:
- Choose 2x (HD) for standard social media sharing.
- Choose 4x (4K UHD) for full ultra-high-definition wallpapers and physical print preparation.
- Choose Custom Px with the aspect ratio lock toggle ($\text{Locked } \text{H} = \text{round}(W \times \frac{H_{\text{orig}}}{W_{\text{orig}}})$) to target specific pixel dimensions (e.g., $3840\times 2160$ or $1080\times 1080$).
- Choose the Right Algorithm:
- For nature, portraits, and phone photos → Progressive Stepped.
- For fine line art, blueprints, and diagrams → Edge-Directed.
- For arcade games and pixel graphics → Nearest (Pixel Art).
- Inspect via Split-Screen & Loupe: Switch between the Split Before/After Slider and the Zoom Loupe (200% / 400% / 800%) to verify that facial features, textures, and text remain natural and crisp.
- Export Format & Quality: Select Lossless PNG if your photo contains transparency, or choose WebP at $95\%$ quality for lightning-fast web delivery. Click Download Upscaled Image or export the entire queue as a single `.zip` archive.
6. Client-Side Privacy: Why Browser-Based Processing is the Future
Many online image upscalers require uploading private photos, company badges, sensitive client scans, or unreleased product prototypes to third-party cloud servers. This introduces data privacy risks and bandwidth bottlenecks.
The RiazHub Image Upscaler Studio operates under an uncompromising privacy-first architecture:
- Zero Server Uploads: Every byte of pixel decoding, spatial matrix convolution, and raster encoding executes in your browser’s local sandbox via HTML5 Canvas and typed `ImageData` arrays.
- Offline Capable: Once the page is loaded, you can disconnect your Internet connection entirely and the tool will continue to upscale images and package `.zip` archives without interruption.
- No File Size Limits: Process massive files directly using your device’s local CPU and GPU acceleration.
7. Frequently Asked Questions (FAQ)
No digital algorithm can reconstruct information that does not exist in the source file. However, stepped progressive resampling and edge-directed acutance filters reconstruct clean, anti-aliased sub-pixel contours along existing gradients, eradicating pixelated stair-stepping and preserving high-frequency edge definition.
For graphics with transparent backgrounds, digital art, or print assets, choose PNG (Lossless). For web publishing, blog featured images, and social media, choose WebP at 90% 95% quality, which yields comparable visual fidelity at a fraction of the file size.
You can drop up to 50+ images simultaneously into the queue shelf. The studio will process each file in succession, apply your chosen scaling parameters, and compile all upscaled assets into a single compressed `.zip` archive alongside a `print-telemetry-manifest.txt` file detailing physical dimensions for print shops.
The studio is completely free to use without registration on any modern desktop or mobile browser at RiazHub Image Upscaler & High-Fidelity Dimension Studio.
Universal Image Upscaler & Dimension Studio
Enlarge photos and graphics up to 4x, reconstruct sharp edge contours, calculate 300 DPI fine-art print sizes, and batch export high-DPI assets with 100% in-browser privacy.