
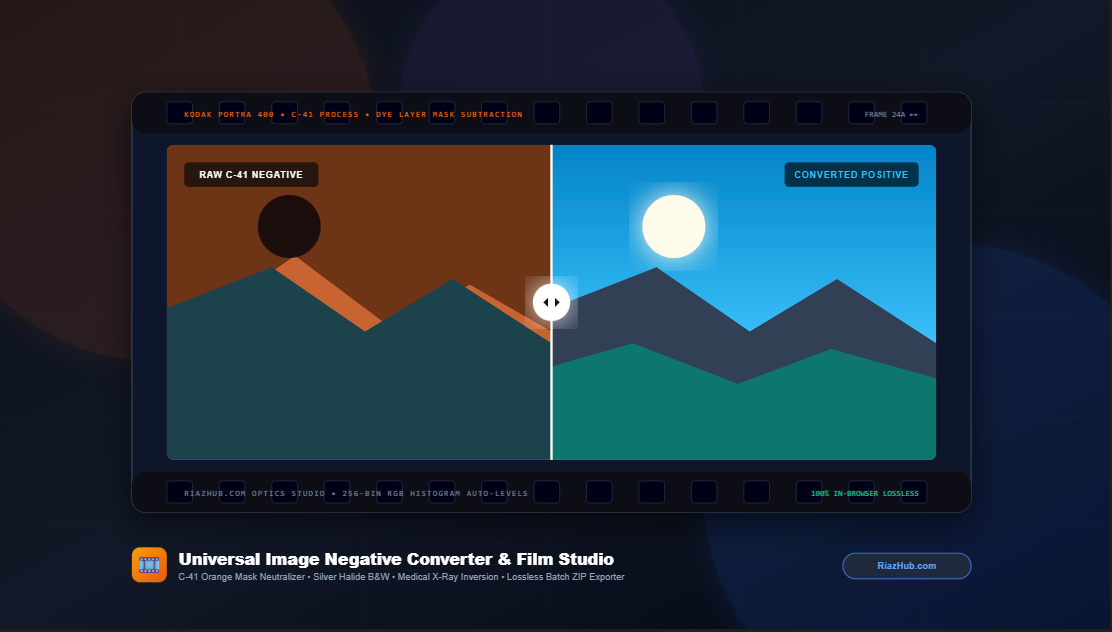
How to Invert Film Negatives into Vivid Positives: The Ultimate Guide to C-41 Orange Mask Removal, B&W Scans & Radiograph Processing
Digitizing photographic film has experienced a massive renaissance. From vintage family photo collections stashed in dusty shoe boxes to modern analog photographers shooting on 35mm rolls, converting inverted negative film into true-to-life positive photographs is both an art and a science.
However, anyone who has ever clicked a generic “Invert” button in a basic photo editor knows the disappointment that follows: your beautiful portraits end up with a sickly blue or muddy teal cast, skin tones turn ghostly cyan, and contrast evaporates into a hazy gray fog.
Why does simple inversion fail so spectacularly on color film? And how can you achieve laboratory-grade conversions without paying for costly specialized software or submitting private family photos to remote cloud servers? You can test these techniques immediately using the free RiazHub Universal Image Negative Converter directly inside your web browser.
1. The Photochemical Enigma: Why Does Color Negative Film Have an Orange Mask?
To understand how to convert a color film negative into a natural positive, we must first dive into the chemical architecture of modern color film (such as Kodak Portra, Kodak Gold, and Fujifilm Superia), which relies on the standardized C-41 chromogenic development process.
When you hold a strip of developed 35mm or 120 color negative film up to daylight, you immediately notice that the clear, unexposed rebate borders are not transparent gray—they are a distinctive deep amber or dark orange. This is known as the integral orange color mask.
The Spectral Defect Problem: In a perfect world, the Cyan, Magenta, and Yellow dye couplers formed in photographic film would absorb strictly their target wavelength bands (Red, Green, and Blue, respectively). In reality, synthetic organic dyes have imperfect secondary absorptions: Magenta dye unwantedly absorbs blue light, and Cyan dye absorbs green and blue light.
To counteract this cross-talk and prevent color contamination when creating optical darkroom prints onto photographic paper, film manufacturers intentionally engineered colored dye couplers into the film emulsion layers. The unreacted couplers retain their original color after processing, forming a continuous orange optical bias that cancels out the secondary absorption defects.
2. Mathematical Complement vs. Photochemical Dye Subtraction
When a typical image editing software performs an “Invert”, it applies a naive mathematical complement:
R' = 255 - R | G' = 255 - G | B' = 255 - B
Because the film base contains an immense concentration of orange (which is composed of high Red and moderate Green values with very low Blue), the direct complement of orange is cyan and saturated blue. When you invert the image linearly, this orange bias flips into a dense, overwhelming blue veil that covers your entire photo.
The Normalized Film Base Subtraction Formula
True color film negative conversion requires a two-step mathematical transformation:
- Base Calibration: Sample the unexposed film border rebate to establish the baseline mask vector:
(R_mask, G_mask, B_mask). - Normalized Dye Division & Inversion: Divide the raw sensor pixel values by the baseline mask before computing the complementary dye density:
nR = min(1.0, (R / 255) / (R_mask / 255))
R_positive = round((1.0 - nR) * 255)
By neutralizing the orange base prior to the inversion pass, the complementary dyes (Cyan, Magenta, Yellow) invert back into their natural positive counterparts (Red, Green, Blue), instantly revealing vibrant skin tones, crisp foliage, and rich skies. You can test this algorithm with your own camera scans using the Film Inversion Studio on RiazHub.
3. Black & White Silver Halide Negatives: The Perceptual Contrast Approach
Monochrome film negative conversion is far simpler from a spectral perspective, but introduces unique challenges with tonal gradation. Black and white film uses metallic silver grains suspended in gelatin. Unlike color film, it has no orange mask, but it possesses a characteristic non-linear exposure response known as the Hurter & Driffield (H&D) curve.
To properly invert a black-and-white negative:
- Perceptual Luminance Conversion: Rather than averaging RGB channels equally, the engine calculates true human perceptual luminance using standard ITU-R BT.709 coefficients:
Luminance = 0.2126 * R + 0.7152 * G + 0.0722 * B - Contrast Expansion: Raw negative scans often suffer from flare and flat midtones. Applying an S-curve contrast boost with midtone gamma calibration restores the deep velvety blacks and specular highlights typical of silver gelatin darkroom prints.
4. Medical Radiograph & Dental X-Ray Inversion
Film inversion isn’t restricted to photographic memories; it is a critical diagnostic utility in dental clinics and orthopedic medicine. Traditional X-ray radiographs are negative shadowgraphs:
- Dense cortical bone, enamel, and metallic fillings block high-energy X-ray photons, resulting in unexposed emulsion that appears light gray or white on developed film.
- Soft tissues, pulp canals, periodontal pockets, and air passages allow X-rays to pass freely, creating dense dark regions.
Diagnostic specialists frequently flip radiographic density using the RiazHub Medical Inverter to evaluate bone trabeculae and hairline fractures under reverse illumination, reducing ocular fatigue and enhancing diagnostic certainty.
5. Comparison: Inversion Modes at a Glance
| Inversion Profile | Underlying Science | Primary Use Case | Key Calibration Feature |
|---|---|---|---|
| C-41 Color Film | Orange acetate mask subtraction & dye density inversion | 35mm & 120 color negatives (Portra, Gold, Superia) | Eyedropper canvas mask sampling & auto-levels |
| B&W Negative | Perceptual luminance inversion (BT.709) | Tri-X, HP5, Ilford Pan F, vintage family prints | Film grain retention & dynamic contrast boost |
| Medical X-Ray | Sigmoidal micro-contrast bone density expansion | Dental bitewings, panoramic radiographs, chest X-rays | Micro-fracture edge enhancement |
| Luminance Only | HSL Lightness channel flip (1.0 – L) preserving Hue | Surreal artistic photography & solarization | Preserves 100% original chrominance |
| Classic Complement | Linear 8-bit complement (255 – RGB) | Forensic blueprints, document invert, inverted graphics | Selective R, G, B channel switches |
6. Step-by-Step Guide: Converting Your Negatives with RiazHub
Converting a batch of digitized negatives using the RiazHub Universal Image Negative Converter takes less than a minute:
- Load Your Images: Drag and drop your camera scans or flatbed TIFF/JPEG/PNG files into the dropzone. You can also paste directly from your clipboard (Ctrl+V) or click “Load Sample Film” to experiment with a pre-loaded 35mm Kodak Portra strip.
- Select Your Profile: Click
🎞️ C-41 Color Filmfor modern color rolls,⚫ B&W Negativefor monochrome, or🩻 X-Ray / Medicalfor radiographs. - Sample the Orange Mask (Color Film): Click the “Pick From Canvas” eyedropper button and tap the unexposed border rebate of your film roll. The tool samples the exact RGB hexadecimal value and neutralizes the orange base instantly.
- Balance Dynamic Range: Click the “✨ Auto-Levels” button to calculate histogram percentiles (2% to 98%), eliminating hazy film fog and setting ideal black and white clipping points.
- Inspect with Split-Screen Compare: Switch to the “Split-Screen Compare” tab and slide the divider back and forth to examine the raw film negative against your crisp positive conversion at 60 FPS.
- Export Lossless Positives: Choose your export format (lossless PNG, modern WebP, or photo-quality JPEG) and click “Download Positive” or bundle your whole queue into a single file with “📦 Download Batch as ZIP”.
7. The Privacy Guarantee: Zero Cloud Uploads
Preserving historical family photo archives and sensitive medical diagnostic scans demands absolute confidentiality. Unlike online converters that upload your precious photographs to remote cloud servers for server-side processing, the RiazHub Image Negative Converter runs 100% locally inside your web browser.
Every pixel array calculation, histogram binning loop, and ZIP compression archive is executed inside your computer’s local RAM using modern HTML5 Canvas (OffscreenCanvas / ImageData) and the Web Audio/Stream APIs. You can even disconnect your internet connection once the page is loaded, and the tool will continue functioning with full speed and zero data transfer.
Universal Image Negative Converter & Film Studio
Invert photographic film negatives into vivid positives with automatic C-41 orange mask neutralizer, process silver halide monochrome film, enhance medical dental X-rays, and batch-export lossless positives with zero server uploads.